Installing an NVR (Network Video Recorder) camera system typically involves several steps. Here’s a general guide to help you with the installation process:
- Plan your camera system: Determine the number and locations of cameras you need, considering areas of surveillance interest, power supply availability, and network connectivity.
- Purchase the equipment: Buy an NVR system that suits your requirements. Ensure it includes the necessary number of cameras, cables, and power adapters.
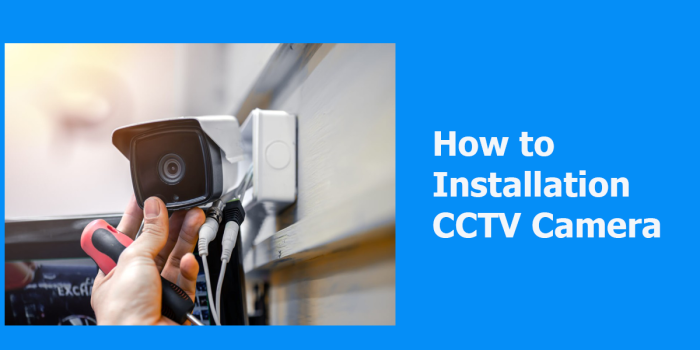
- Position the cameras: Choose the optimal spots for your cameras, considering the field of view, angles, and coverage areas. Mount the cameras securely using the included brackets or mounts. Make sure they are protected from weather conditions and tampering.
- Install the NVR: Find a suitable location for your NVR, preferably in a secure and centralized area. Connect the NVR to your network router using an Ethernet cable. Plug in the power adapter to provide electricity to the NVR.
- Connect the cameras: Connect each camera to the NVR using the provided cables. Typically, these cables combine power and video transmission (such as Ethernet or coaxial cables). Ensure a secure and proper connection for each camera.
- Power up the system: Plug in the power adapters for the cameras. Make sure they are connected to a reliable power source, either an electrical outlet or a power distribution box.
- Configure the NVR: Access the NVR’s user interface using a computer or a mobile device connected to the same network. Follow the manufacturer’s instructions to set up the NVR system, including network settings, time synchronization, and user accounts. You may need to install specific software or use a web browser to access the NVR’s interface.
- Adjust camera settings: Fine-tune individual camera settings, such as resolution, frame rate, motion detection sensitivity, and recording schedules, according to your preferences. These settings may vary depending on the NVR manufacturer and software.
- Test the system: Verify that all cameras are functioning correctly and providing the desired coverage. Ensure that the NVR is recording and storing footage properly. Perform tests for motion detection and review video playback to confirm everything is working as expected.
- Remote access and monitoring: If desired, set up remote access to your NVR system. This can enable you to view camera feeds and recordings from anywhere using a computer or mobile device. Follow the manufacturer’s instructions to configure remote access securely.
Remember to consult the specific instructions provided with your NVR system, as the installation process might vary depending on the manufacturer and model. Additionally, if you are uncertain about any aspect of the installation, it’s always a good idea to consult a professional or the manufacturer’s support team for guidance.
