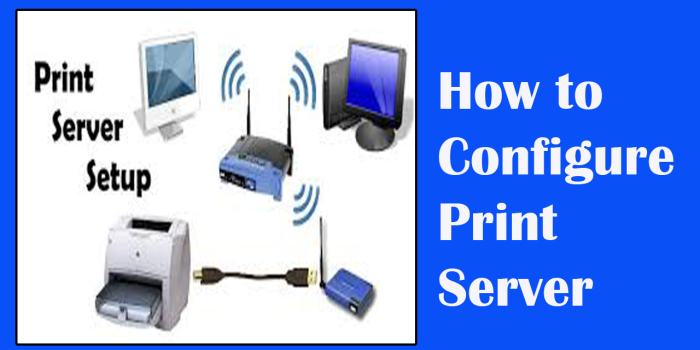
Setting up a print server can vary depending on your specific network setup and the type of printer(s) you have. Here’s a general guide to help you get started:
- Choose a Server: You’ll need a computer or a dedicated device to act as the print server. This could be a desktop computer, a laptop, a Raspberry Pi, or a dedicated print server device.
- Install Printer Drivers: Ensure that the necessary printer drivers are installed on the print server. You can usually download these from the manufacturer’s website. Make sure you have drivers for all the different printer models you plan to connect to the print server.
- Connect the Printer(s) to the Server: Connect the printer(s) physically to the print server using USB cables or network cables (Ethernet or Wi-Fi, depending on the printer and server capabilities). If you’re using a dedicated print server device, follow the manufacturer’s instructions for connecting the printers.
- Configure Printer Sharing: On the server computer, enable printer sharing. This process varies depending on your operating system:
- Windows: Go to Control Panel > Devices and Printers. Right-click on the printer you want to share, then select “Printer properties.” Go to the “Sharing” tab and check the box labeled “Share this printer.” Give your printer a share name.
- macOS: Go to System Preferences > Printers & Scanners. Select the printer you want to share, then click on the “Sharing Preferences” button. Check the box labeled “Share this printer on the network” and give it a name.
- Linux: The process can vary depending on the Linux distribution and desktop environment you’re using. Typically, you’ll need to configure printer sharing through the CUPS (Common Unix Printing System) web interface or the printer settings in your desktop environment.
- Test Printing: Once the printer is shared, test printing from other devices on the network to ensure they can access the shared printer. Install the printer drivers on these devices if necessary.
- Set Permissions: If you want to restrict access to the shared printer, you can configure permissions. This is especially important in business environments where you may want to control who can print to certain printers.
- Monitor and Maintain: Regularly check the print server to ensure everything is functioning correctly. Update printer drivers and firmware as needed to keep everything running smoothly.
By following these steps, you should be able to set up a basic print server on your network. Keep in mind that specific details may vary based on your hardware, operating systems, and network configuration.


